Tutorial: Build a RAG pipeline with LangChain, OpenAI and Pinecone
This tutorial contains everything you need to build production-ready Retrieval Augmented Generation (RAG) pipelines on your own data.
Whether you're working with a corporate knowledge base, personal blog, or ticketing system, you'll learn how to create an AI-powered chat interface that provides accurate answers with citations.
Complete Example Code
The full source code for this tutorial is available in the companion repository on GitHub. This repository contains a complete, working example that you can clone and run locally.
Try It Yourself
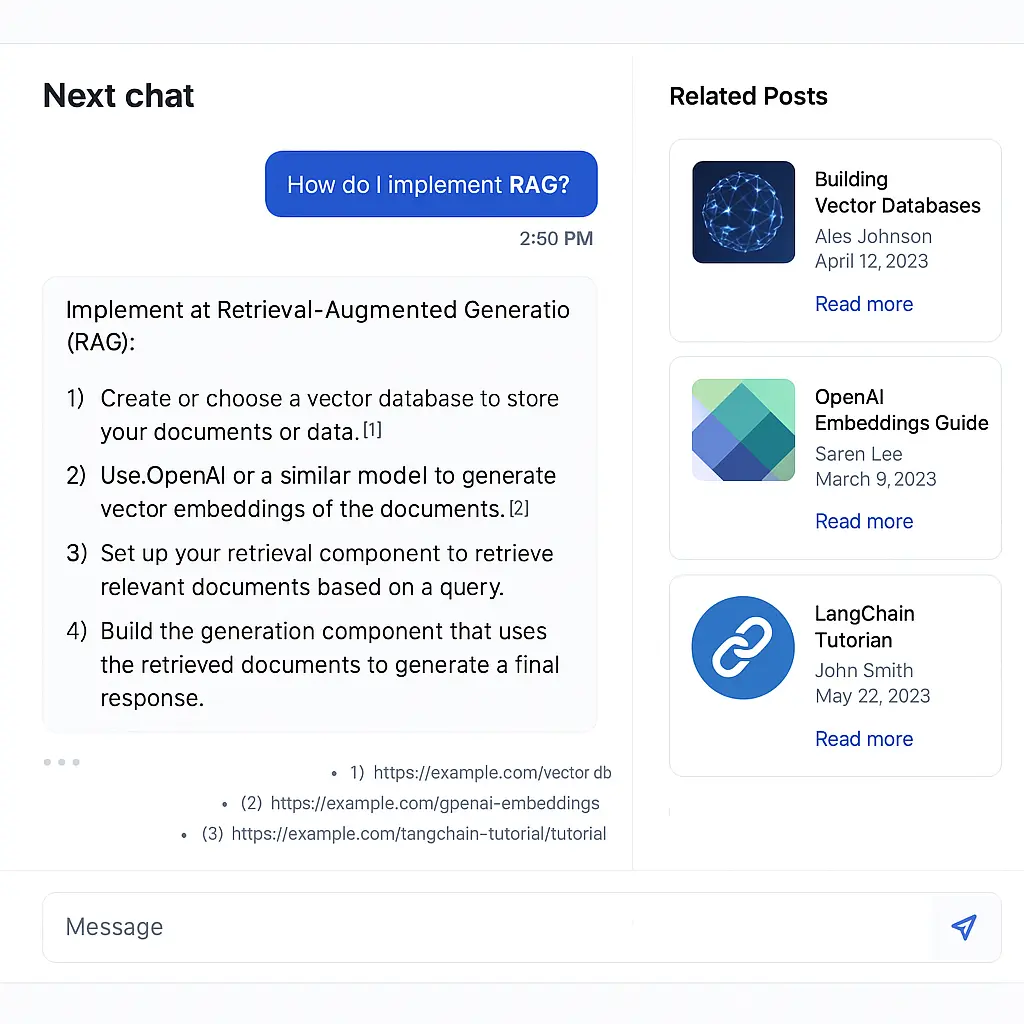
See the complete working demo at /chat. This tutorial walks you through building this exact same experience:

Why Premium if the repos are public?
The GitHub repos are a reference. Premium is a production path:
- Comprehensive step by step walkthrough
- Patterns for OpenAI/Pinecone + index lifecycle
- License + lifetime updates
Table of contents
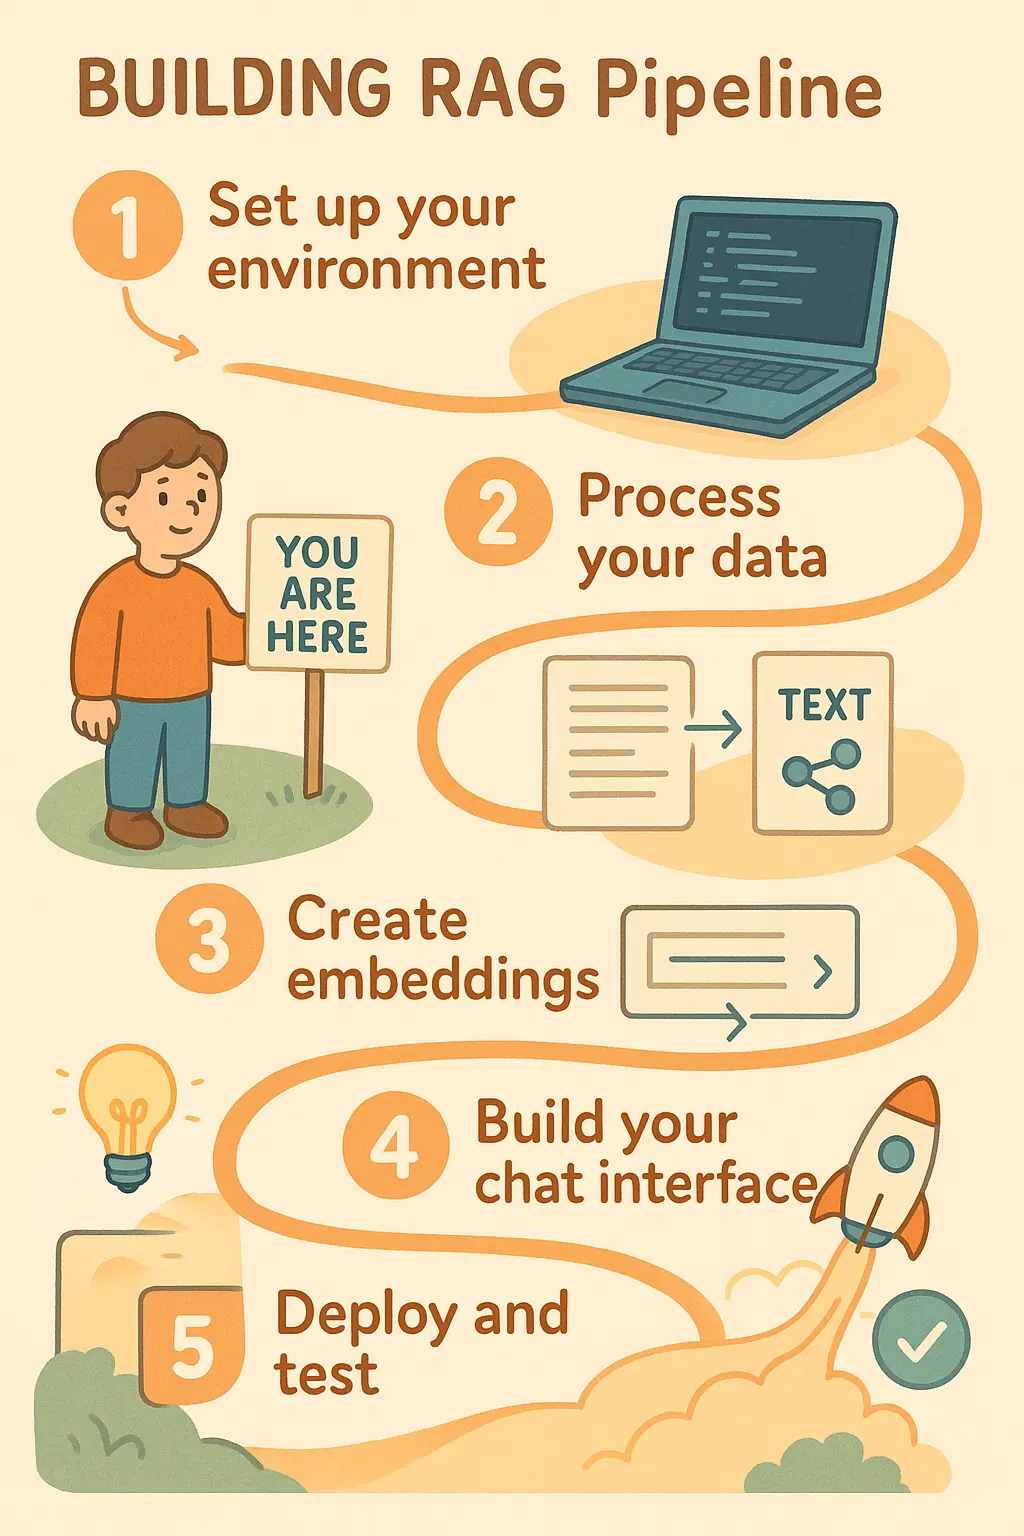
- System Architecture
- Phase 1: Data processing
- Step 1: Load and configure the data processing notebook
- Step 2: Clone the data source
- Step 3: Install dependencies
- Step 4: Loading blog posts into memory
- Step 5: Loading your Open AI and Pinecone API keys into the environment
- Step 6: Creating a Pinecone index
- Step 7: Creating a vectorstore with LangChain
- Understanding Document Chunking
- Phase 2: Application development
- Phase 3: Deployment
- Troubleshooting Matrix
- Production Checklist
- Additional Resources
System Architecture
How does the RAG pipeline work? (Click to expand)
Let's understand the complete system we'll be creating:

This is a Retrieval Augmented Generation (RAG) pipeline that allows users to chat with your content. Here's how it works:
- When a user asks a question, their query is converted to a vector (embedding)
- This vector is used to search your Pinecone database for similar content
- The most relevant content is retrieved and injected into the LLM's prompt, the LLM generates a response based on your content, and the response is streamed back to the user along with citations
Master RAG Development: The Complete Package

After 2 years building and fixing RAG at Pinecone, I refined this complete pipeline. See your data transform in Jupyter, deploy with Next.js and Vercel AI SDK, ship to production in 3 hours. Includes direct support from me — ask questions and I’ll help you implement. This is the fundamental AI engineering skill everyone's hiring for.
