
If you're like me - you can't type your complex password correctly when your entire team is staring at you on a pair coding call.

When you're done reading this post, you'll never need to again. Instead, you'll tap your Yubikey to execute a sudo command without ever touching a password prompt.
Next, I'll show you how to automatically sign your GitHub commits with the private PGP key that only exists physically on my Yubikey 5 NFC and which cannot be exported from the device. This means you cannot author a verified commit on GitHub as me unless you're in the room with me - like right meow - and have admin access to one of my machines.
With these two security and workflow enhancements in place, developing software is much faster and less stressful, even if you're doing it under the withering glare of the curious and malicious.
Not bad for one little device! Along the way, my hope is that you'll discover something or other about the Yubikey you didn't know before.
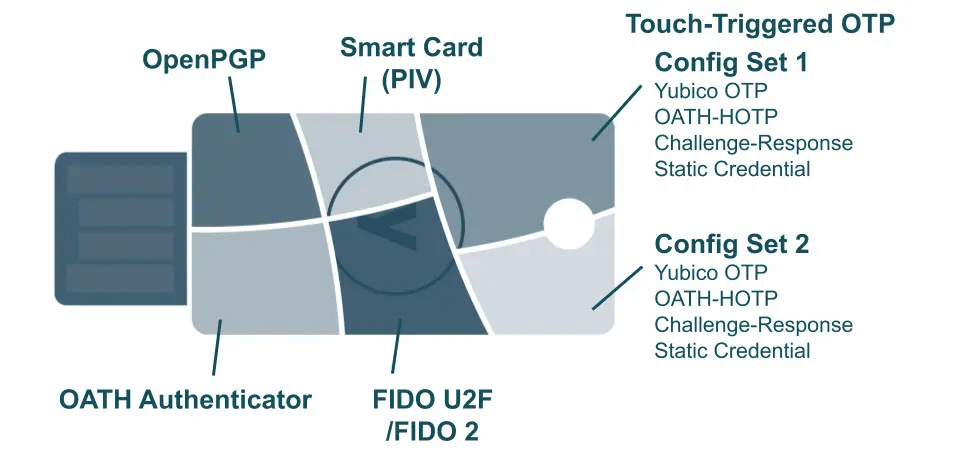
This guide will focus on the Yubikey 5 NFC model, and contemplate setting everything up on an Ubuntu machine, but this will also work for Mac OSX and Windows. I'll create follow-up guides for them, if there's sufficient interest.
The challenge: writing software in public, securely
As ambitious software developers, technologists, and creators looking to share knowledge, we actively seek opportunities to stream our terminal, whether it's to our team when working through an issue together, or to thousands of people in real-time on Twitch or YouTube.
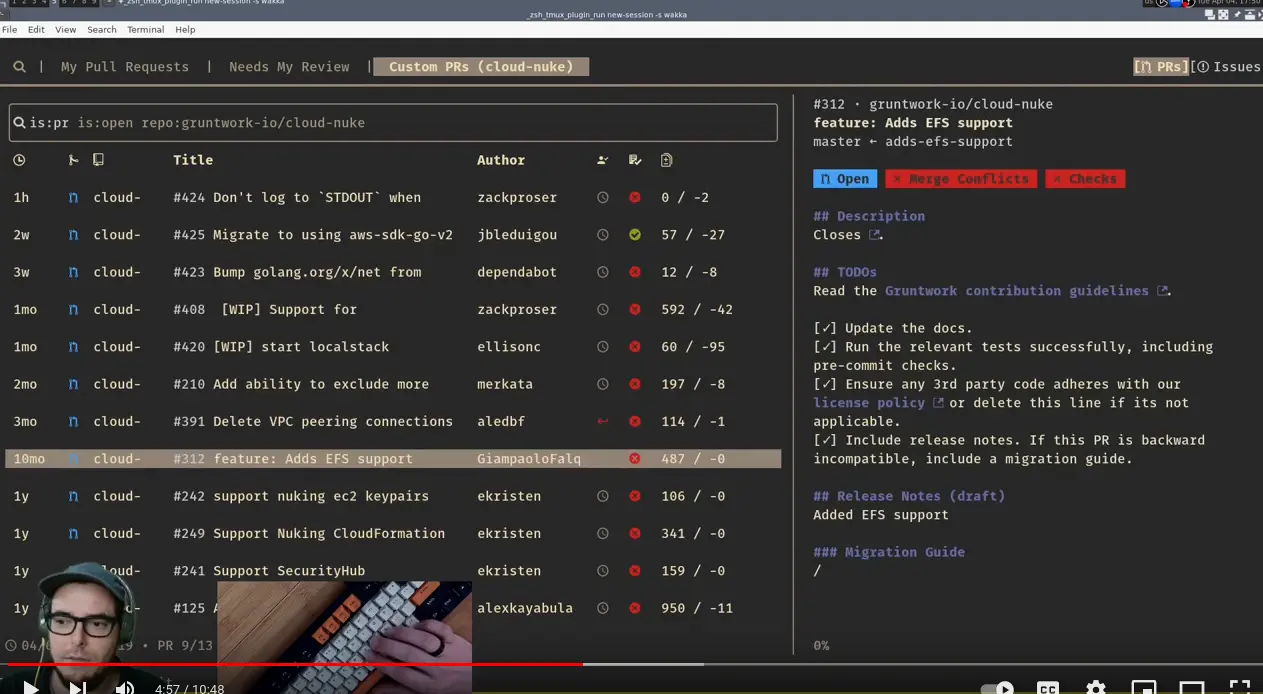
How can we possibly hope to type sudo passwords and develop software in public securely? I had this question myself when I first started streaming Golang development on Twitch.
No, seriously - I pointed a high resolution zooming camera at my hands and connected it to the public internet
Just in case there were any questions about the stakes! I enjoy doing things the hard way, so I decided to set up a separate Linux cam on a post at the back of my desk to zoom in and focus on my hands on the keyboard while I develop.
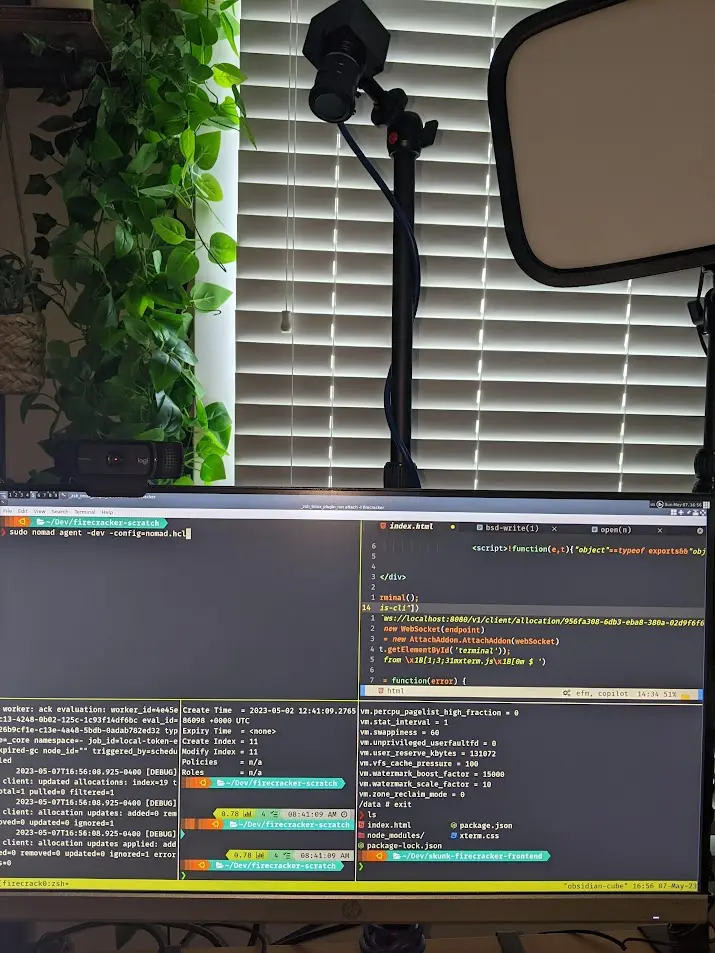
I want folks to see how I use the keyboard and the weird patterns my fingers have gnarled into after many decades of typing in different contexts, because I think it makes the streaming content somewhat more interesting. Here's roughly what that looks like:
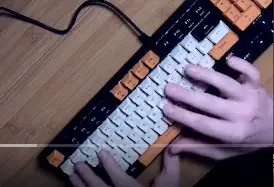
Many folks I've paired with over the years have commented that the way my hands and fingers move is strange, but when I'm properly caffeinated and focused, I can type around 112 WPM with high accuracy.
Of course, this presents a critical problem: my typing is of equal interest to viewers who want to learn more about my workflow, and would-be cyber-criminals.
Don't miss the next post!
Replacing your sudo password with a Yubikey tap
The best guide I found to doing this was written by bashbunni here, and I've slightly adapted the steps below.
Important - Please read all the steps before proceeding. It's very important to NOT CLOSE your PAM configuration editor buffer until you have confirmed that sudo works as expected in a different terminal. Failure to follow this advice could lead to pain.
Step 1. Install dependencies
sudo apt-get install libpam-u2f
Step 2. Create a Yubico config directory
mkdir -p ~/.config/Yubico
Step 3. Plug in your Yubikey
You should see the light flash.
Step 4. Add your Yubikey to the list of accepted Yubikeys
pamu2fcfg > ~/.config/Yubico/u2f_keys
Enter your pin if one is set for the key, then touch the key when the key's light blinks.
Step 5. Configure PAM
# Open your PAM configuration for editing - but DO NOT CLOSE this file
# until you've successfully confirmed everything is working properly
# in a new terminal window!

sudo vim /etc/pam.d/sudo
Find the section of the file that says @include common-auth and add the following line above it:
auth sufficient pam_u2f.so
Here's what your file might look like now:
#%PAM-1.0

session    required   pam_env.so readenv=1 user_readenv=0
session    required   pam_env.so readenv=1 envfile=/etc/default/locale user_readenv=0
auth sufficient pam_u2f.so
@include common-auth
@include common-account
@include common-session-noninteractive
Step 6. Verify
Now - DO NOT CLOSE your original PAM editing buffer, but instead open a new terminal window and type:
sudo echo "SUCCESS!"
and hit enter. When you do, you should see your terminal "hang" and your connected Yubikey's light start to blink. This means PAM is waiting on you to tap your Yubikey! Do so and you should see:
"SUCCESS!"
printed in your new terminal. If you do, you're all set and can now enjoy passwordless sudo.
The reason this setup works is thanks to Linux's Pluggable Authentication Module (PAM) system. PAM doesn't do authentication, but it allows you to add things that can - such as your Yubikey!
Understanding how GitHub commit signing verification with a Yubikey works
Next up, we're going to ensure that nobody can author a verified commit as us on GitHub. Here's what that entails in a nutshell:
-
We generate a new GPG keypair on our Yubikey itself. The private key resides on the Yubikey and cannot be exported.
-
We tell our local git installation to use this private Yubikey-jailed key to sign our git commits automatically
-
We export and provide the public key to GitHub.
-
When we push up signed commits, GitHub automatically verifies them (if the signature matches that of our GPG pair) and adds the
verifiedbadge to our commits, which looks like this:

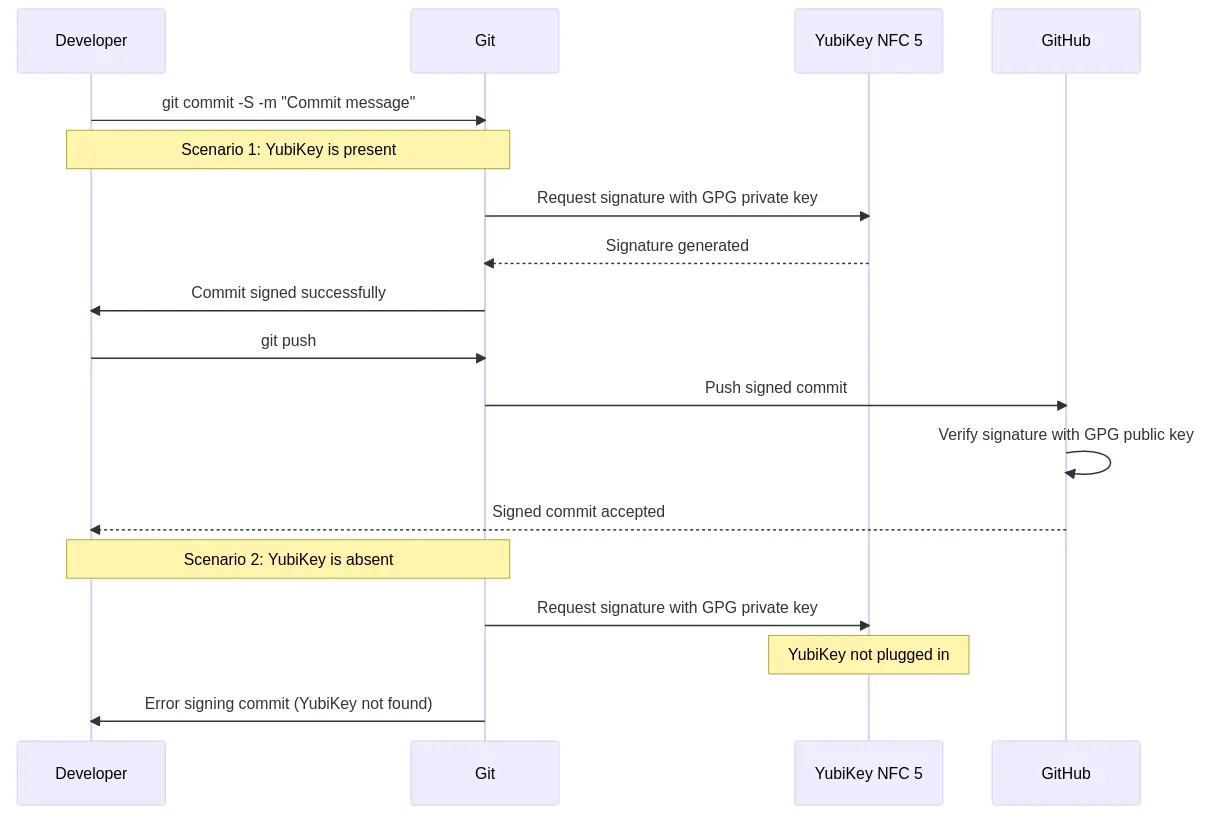
If the Yubikey is plugged into my machine when I execute a git commit command, my commit is automatically signed by the private PGP key residing on my Yubikey. No more fat fingering my complex password and having to rewrite my git commit message.
If the Yubikey is not plugged into my machine, git commit signing fails.
This is really powerful, and having used it now for several months, I love it and can't return to my previous ways.
Let's look at a sequence diagram to understand how this flow works:
Commit signing verification is an important step to take if you participate in open source development because it is trivially easy to spoof someone's git commits without this extra layer of verification protection in place.
How to configure automatic GitHub commit signing verification with Yubikey
Step 1. Install dependencies
Step 2. Generate the keypair on your Yubikey
Follow Yubico's official guide - and scroll down to the find the second option:
"Generating Your PGP Key directly on Your YubiKey"
Step 3. Tell your local git to use the Yubikey-contained private key for commit signing
# Replace AABBCCDD with the real ID of your GPG private key
git config --global user.signingkey AABBCCDD
Step 4. Give GitHub your public key
You can follow GitHub's official guide.
Once you've completed these steps, author any commit on a local project and push it up to GitHub. You will originally be prompted for you Yubikey's pin, but once you enter that - you won't need to do it again for the length of your session.
Check that your latest commit is showing the verified badge on GitHub, at which point, you're all done!
Insight: the developer experience is paramount
I needed a solution that was both highly secure and also extremely low friction to my daily workflow. Something that I would actually enjoy using because it is so seamless and reliable.
What makes this setup so ideal is that it does not introduce additional overhead, complexity or maintenance headaches for the developer implementing it - instead, it actually simplifies and eases common tasks. It takes away tedious things you normally have to do while still making you more secure. See also: "frictionless security" . This is the way.
Thanks for reading - and a request!
Thanks so much for taking the time to read this post. If you found it at all helpful, I hope you will please consider subscribing to my newsletter below, or sharing this post with a friend. Thank you so much for your support!

Discussion
Giscus